SSHポートフォワーディングを使ってリモートのMySQLに接続
久々の更新です(*・ω・)ノ
さて、今回はタイトルの通りです(`・ω・´)
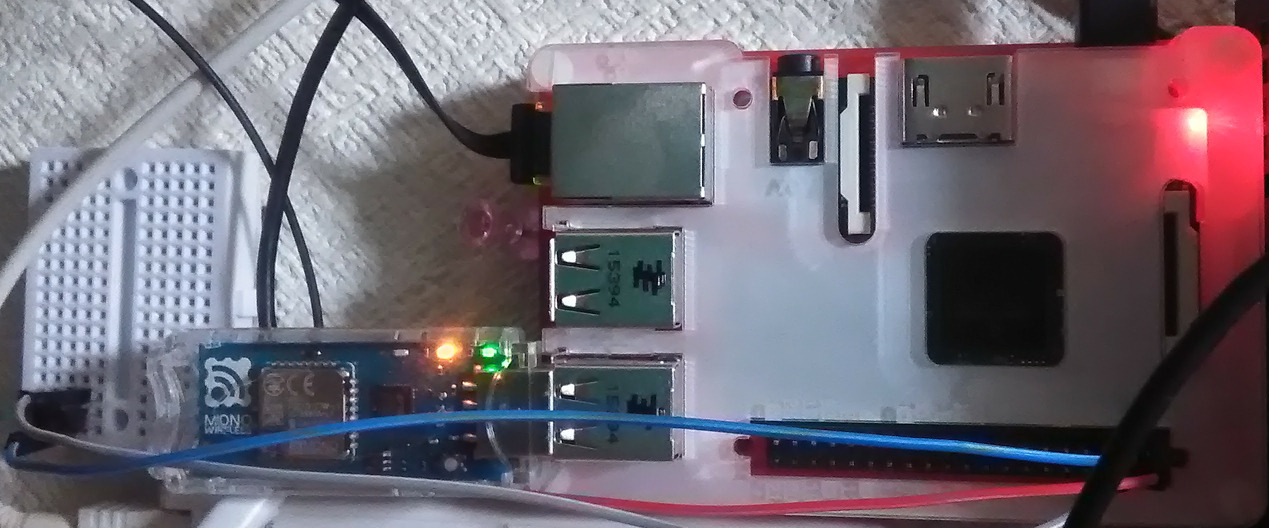
家のラズパイは各種監視やエアコン等の制御用に Springboot で作られた API が走っています。
なのでスマホから色々操作できるようになっています♪
この話はまたいつか…
で、こいつの接続先をローカル DB ではなく、別のサーバー(このブログの動いてるサーバー)の DB に接続するようにします!
経緯としては結構前になってしまうのですが、実はラズパイの SD カードがアボ〜ンしました(T_T)
サーバー自体の再構築は Ansible さんがいらっしゃったのでそこまで大変でもなかったのですが、DB のデータはもう帰ってこない…
せめて DB はレン鯖にしとくべきだったと反省しております_| ̄|○
ということでその作業の一角、Springboot の DB 接続は SSH ポートフォワーディングを使ってリモートの MySQL に接続するようにする手順の備忘録的なものです。
作業の手順としては
- JSch を導入
- コネクション用のクラスを作成
- リスナーに登録処理追加
- ポートフォワーディングに合わせて SQL の接続先を修正
- テストの修正
- となります。
- では行ってみましょう!!
JSch を導入
まぁこれは大した内容ではないですね。
gradle に追加します。
diff --git a/build.gradle b/build.gradle
index 163dc68..e8e1c89 100644
--- a/build.gradle
+++ b/build.gradle
@@ -49,6 +49,7 @@ dependencies {
        compile('org.projectlombok:lombok')
+       compile('com.jcraft:jsch:0.1.54')
}
コネクション用のクラスを作成
JSch を使ってポートフォワーディングを行います。
rsaKeyPath と knownHostsPath を引数にしているのはテストや本番用です。
import com.jcraft.jsch.JSch;
import com.jcraft.jsch.JSchException;
import com.jcraft.jsch.Session;

public class SSHConnection {
    private static final String S_PASS_PHRASE = "公開鍵のパスフレーズ";
    private static final int LOCAl_PORT = 3307;
    private static final int REMOTE_PORT = 3306;
    private static final int SSH_REMOTE_PORT = 10022;
    private static final String SSH_USER = "SSH接続ユーザー";
    private static final String SSH_REMOTE_SERVER = "SSH接続先サーバ";
    private static final String MYSQL_REMOTE_SERVER = "MySQLのサーバ";

    private Session session;

    public void closeSSH() {
        session.disconnect();
    }

    public SSHConnection(String rsaKeyPath, String knownHostsPath) throws JSchException {
        JSch jsch = new JSch();
        jsch.setKnownHosts(knownHostsPath);
        jsch.addIdentity(rsaKeyPath, S_PASS_PHRASE.getBytes());

        session = jsch.getSession(SSH_USER, SSH_REMOTE_SERVER, SSH_REMOTE_PORT);
        session.connect();

        session.setPortForwardingL(LOCAl_PORT, MYSQL_REMOTE_SERVER, REMOTE_PORT);
    }
}
リスナーに登録処理追加
ServletContextListener を継承したクラスを作ります。
これで登録することで、起動と同時にポートフォワーディング処理が走ります。
import com.jcraft.jsch.JSchException;
import lombok.NonNull;
import lombok.RequiredArgsConstructor;
import lombok.extern.java.Log;
import org.springframework.stereotype.Component;

import javax.servlet.ServletContextEvent;
import javax.servlet.ServletContextListener;
import javax.servlet.annotation.WebListener;
import java.util.logging.Level;

@Log
@Component
@WebListener
@RequiredArgsConstructor
public class ContextListener implements ServletContextListener {

    @NonNull
    private final AppParams appParams;

    private SSHConnection sshConnection;

    @Override
    public void contextInitialized(ServletContextEvent sce) {
        log.info("Context Initialized");
        try {
            sshConnection = new SSHConnection(appParams.getRsaKeyPath(), appParams.getKnownHostsPath());
        } catch (JSchException e) {
            log.log(Level.WARNING, "SSHConnection Error", e);
        }
    }

    @Override
    public void contextDestroyed(ServletContextEvent sce) {
        if (sshConnection != null) {
            sshConnection.closeSSH();
        }
        log.info("Context Destroyed");
    }
}
ポートフォワーディングに合わせてSQLの接続先を修正
コネクション用のクラスで定義したポートに変更してやります。
spring:
  datasource:
    url: jdbc:mysql://127.0.0.1:3307/scheme_name?useSSL=false
    username: MySQLのユーザー名
    password: MySQLのパスワード
    driverClassName: com.mysql.jdbc.Driver
    testonborrow: true
    validationQuery: SELECT 1 FROM DUAL
テストの修正
実はこれが地味にハマりました。。。
テスト時も DB 接続テストが発生するため、リスナーに登録したのと同様に実行前に接続し、実行後に破棄してやる必要があったのです。
方法は色々あるかと思いますが、今回は ClassRule アノテーションを使い、TestRule を実装したクラスを呼び出す方法をとりました。
import org.junit.rules.TestRule;
import org.junit.runner.Description;
import org.junit.runners.model.Statement;

public class ConnectionTestRule implements TestRule {
    private static final String ID_RSA_DIR = "公開鍵のファイルパス";
    private static final String KNOWN_HOSTS_DIR = "known_hostsのファイルパス";

    @Override
    public Statement apply(Statement base, Description description) {
        return new Statement() {
            @Override
            public void evaluate() throws Throwable {
                SSHConnection sshConnection = new SSHConnection(ID_RSA_DIR, KNOWN_HOSTS_DIR);
                base.evaluate();
                sshConnection.closeSSH();
            }
        };
    }
}
上記のクラスを以下のように設定してあげます。
import org.junit.ClassRule;
import org.junit.Test;
import org.junit.runner.RunWith;
import org.springframework.boot.test.context.SpringBootTest;
import org.springframework.test.context.junit4.SpringRunner;

@RunWith(SpringRunner.class)
@SpringBootTest
public class BvlionBatchApplicationTests {

    @ClassRule
    public static ConnectionTestRule rule = new ConnectionTestRule();

    @Test
    public void contextLoads() {
    }
}
これで無事に gradle build も通り、DB にも繋がるようになりました!
今まで何度か自宅鯖をアボ〜ンさせた経験はあったのですが、ここ最近はずっと PaaS 系を使っていたためすっかりローカル DB が信頼ならないことを失念していました(>_<)
いつか Firebase にしたい…